 | Arena Stone NJ")
 | Arena Stone NJ")
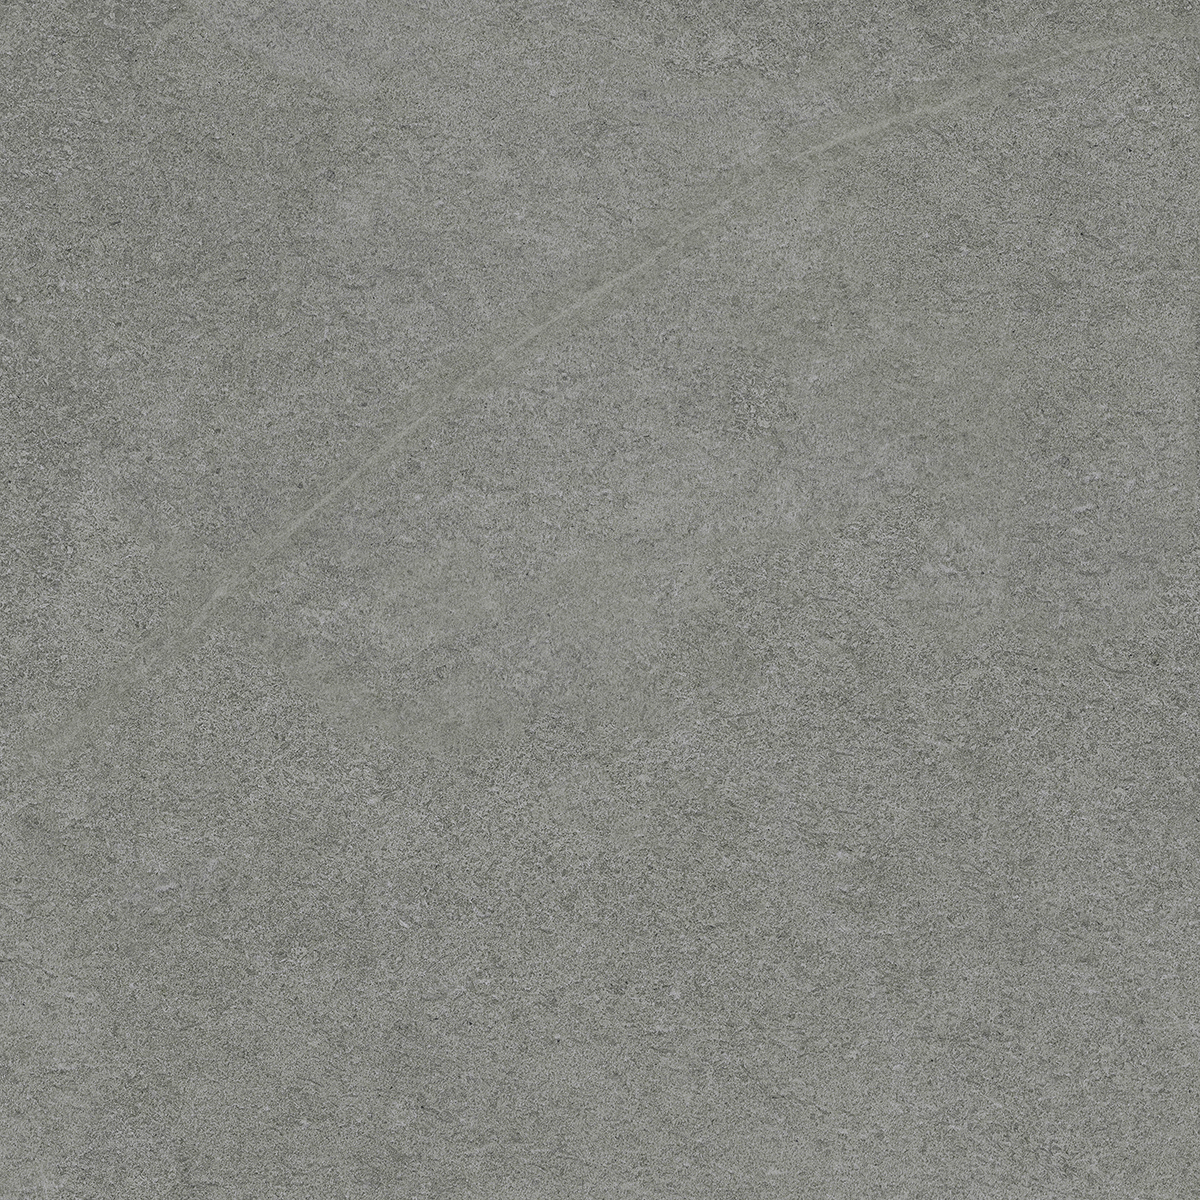
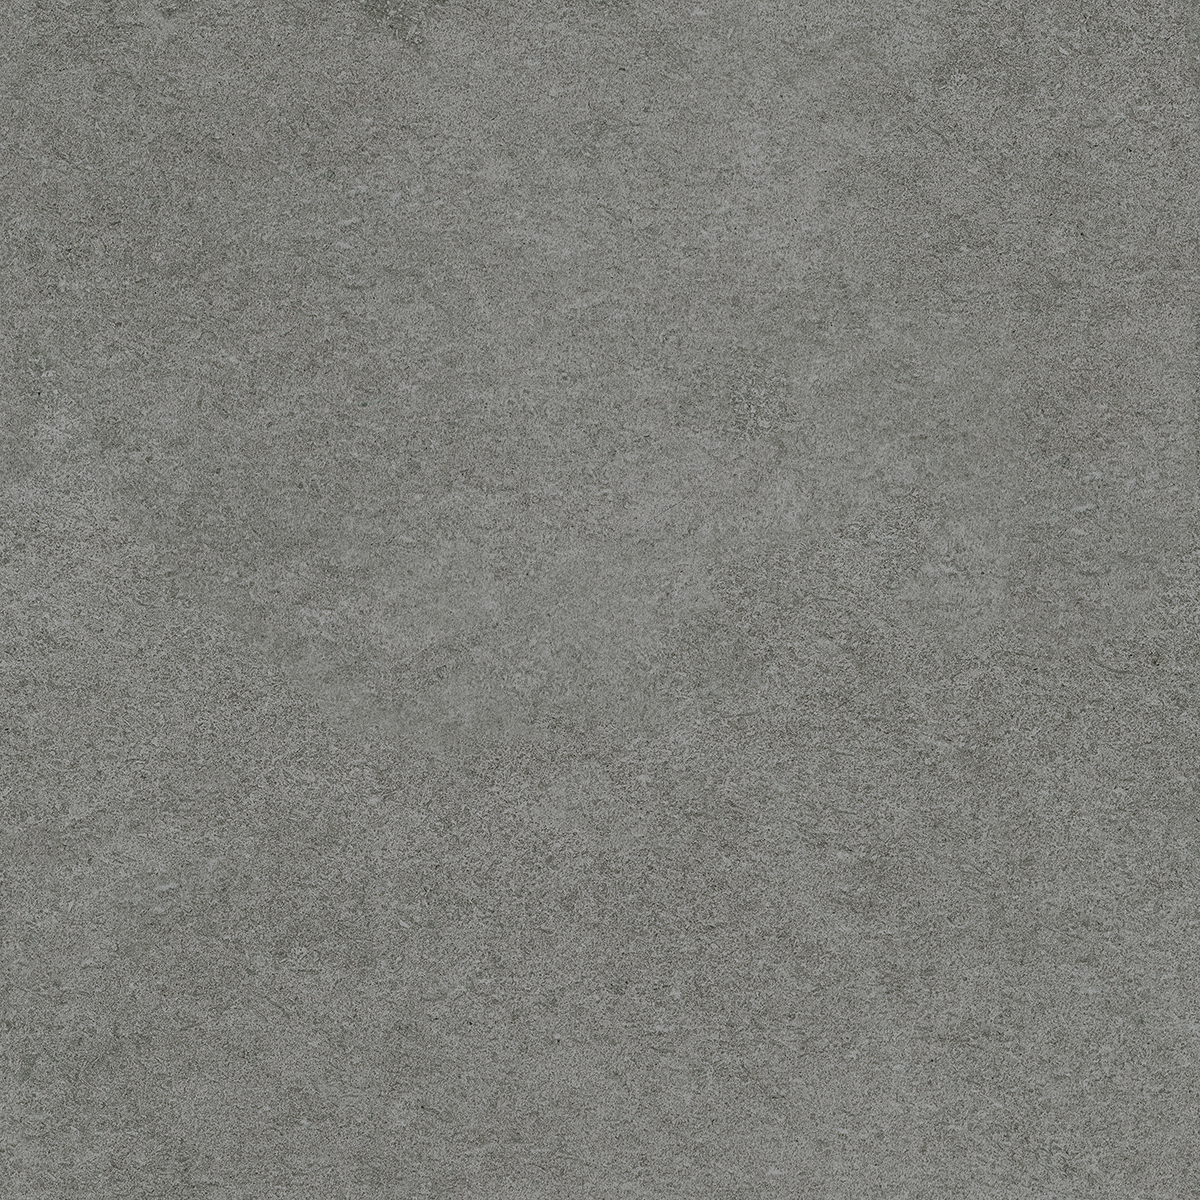
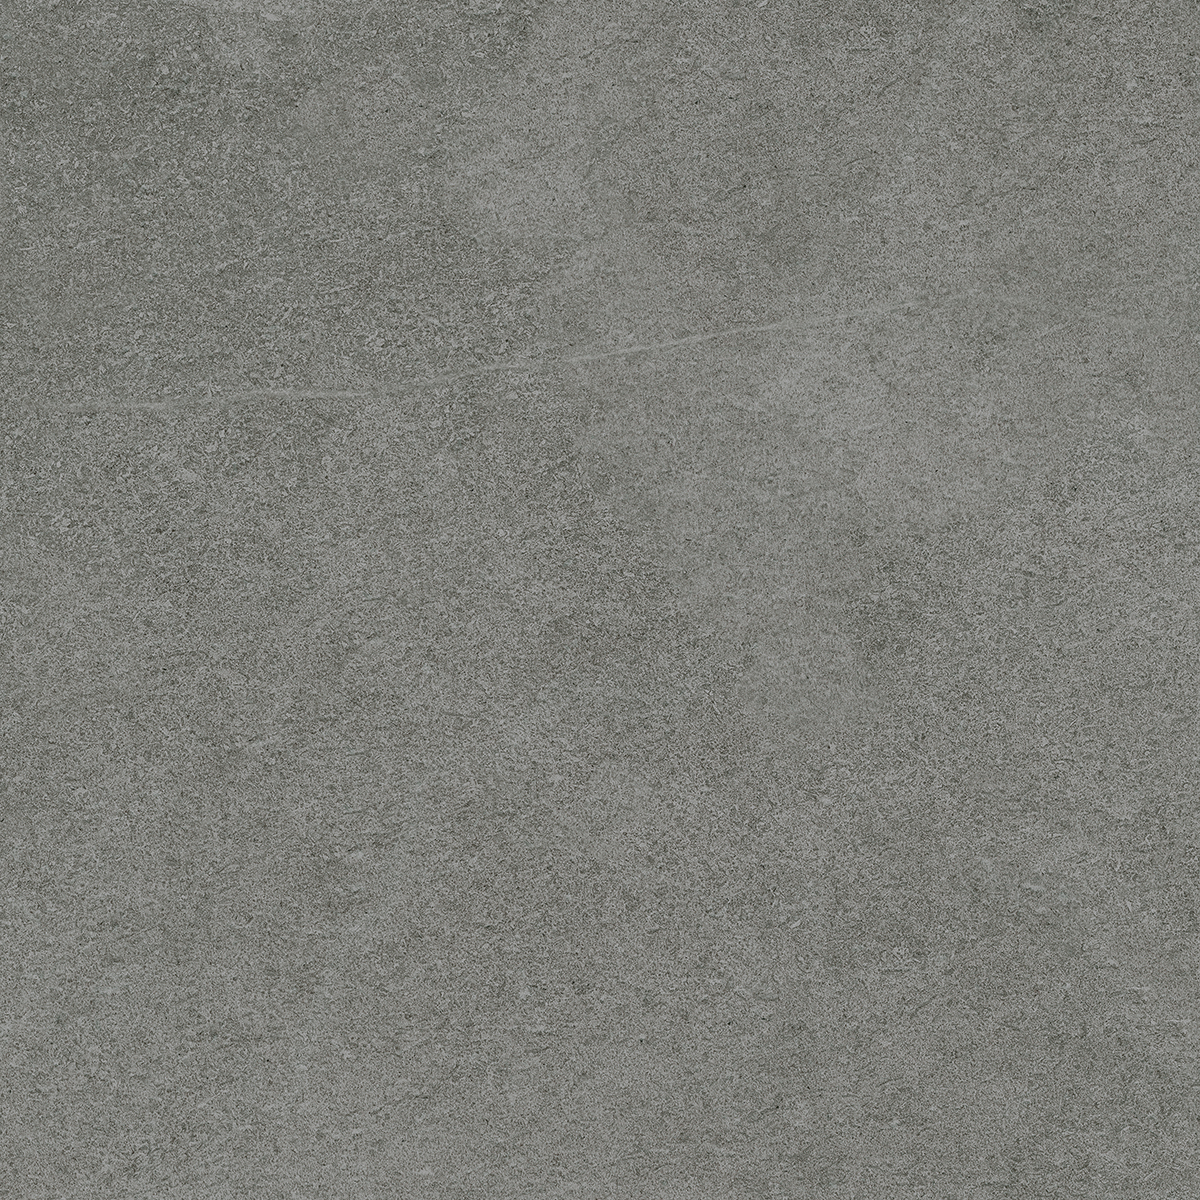
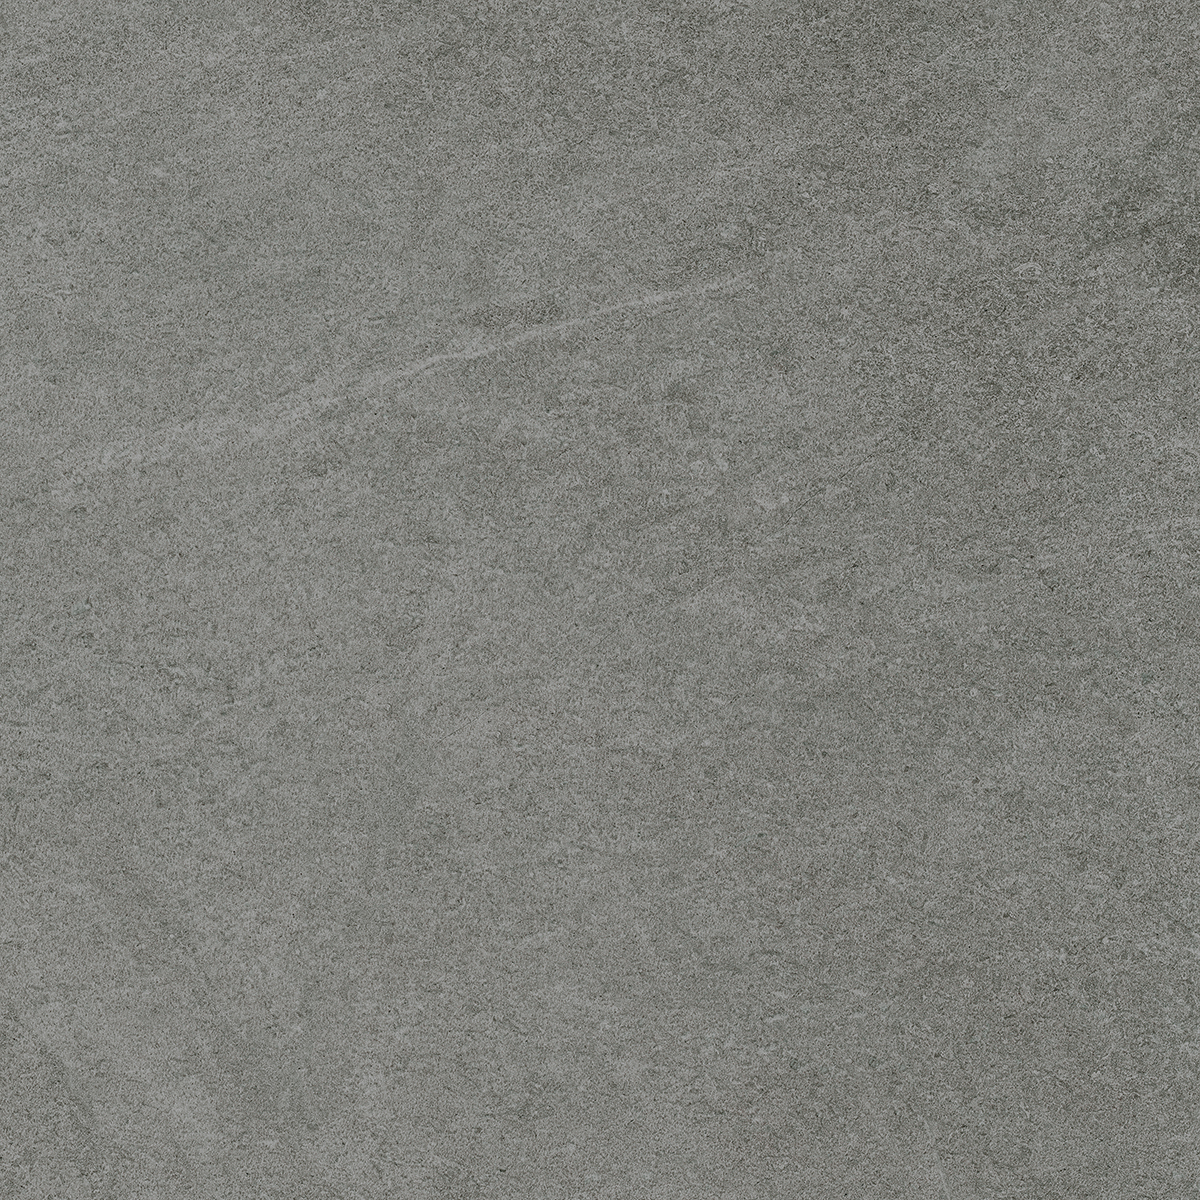
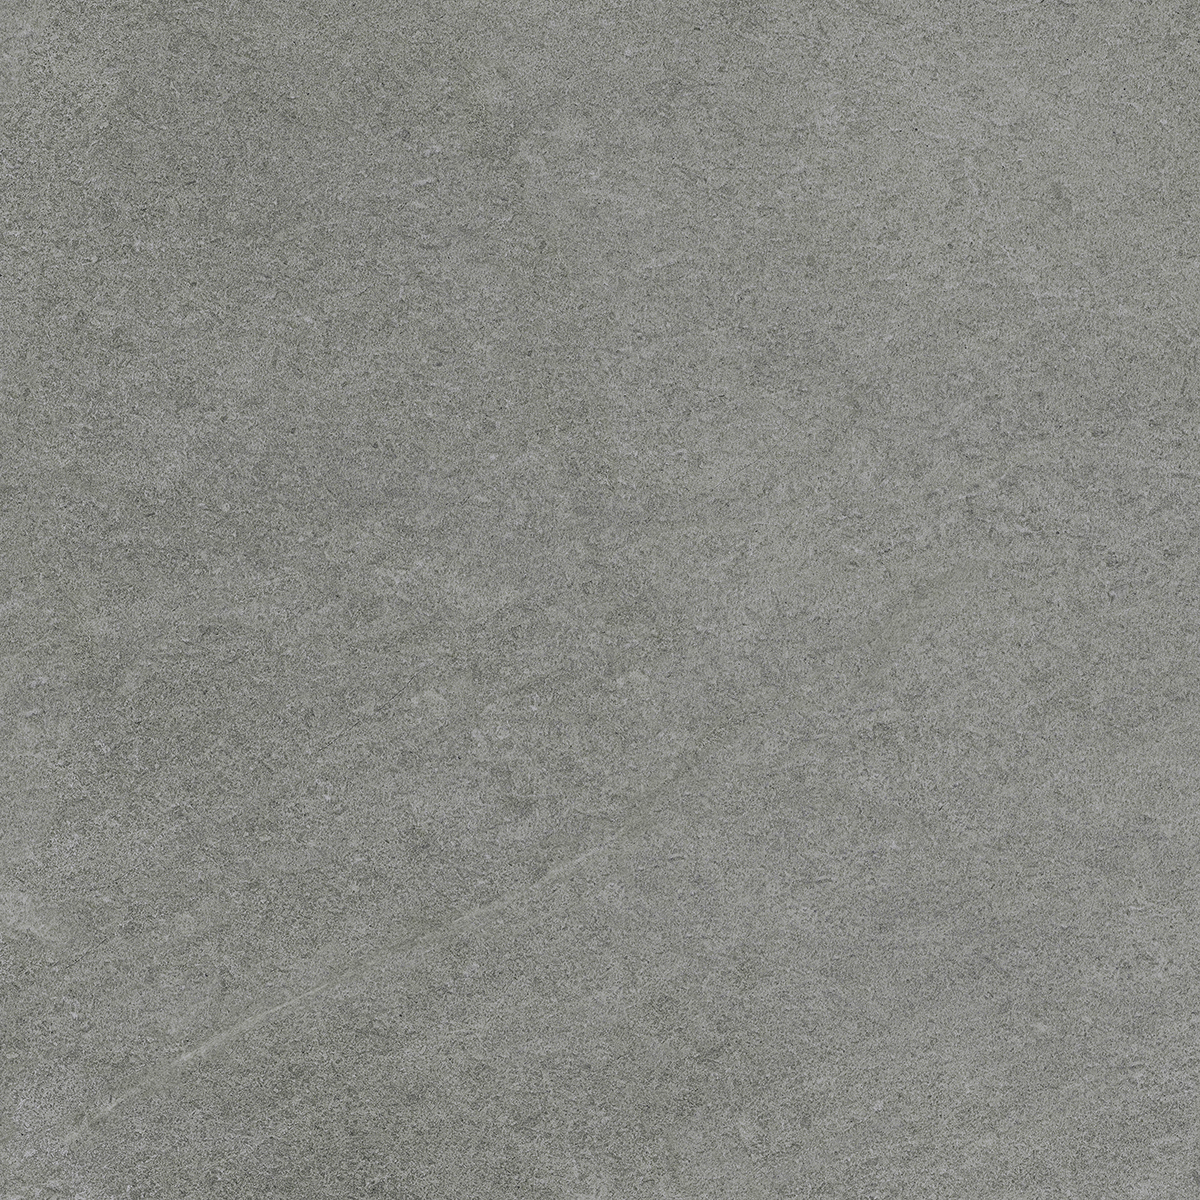
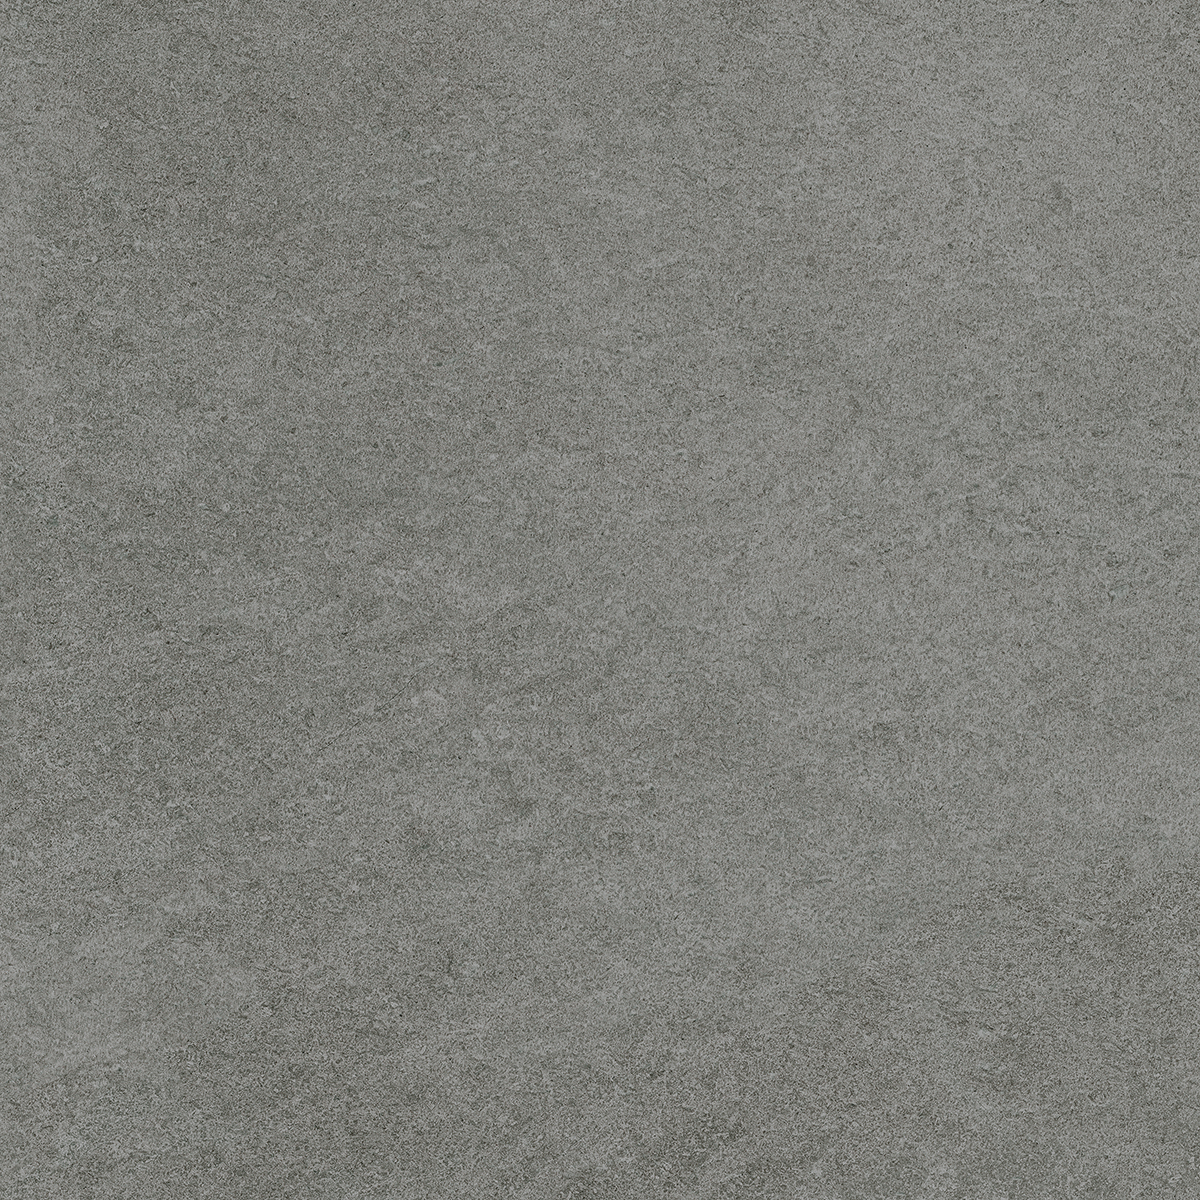
Overland series
Anthracite
A cool, modern gray with subtle variations of slate, silver, and soft charcoal. The fine, textured surface mimics the natural beauty of stone, offering a sleek and versatile look perfect for outdoor spaces.
A cool, modern gray with subtle variations of slate, silver, and soft charcoal. The fine, textured surface mimics the natural beauty of stone, offering a sleek and versatile look perfect for outdoor spaces.


See below for the various instructions on safely and properly installing and handing the pavers.
Choose adhesive on the basis of:
Indications for adhesive selection:
Full-bed adhesion: the adhesive layer between slab rear and support is as continuous, compact and free of voids as possible.
This is achievable by double spreading. Open-joint installation: always recommended, and especially locations with high levels of mechanical or hygrothermic stresses. Reduces the elastic modulus of the tiling, lessening risks of raising, detachment and cracking in the finished tiling.
Technical joints: the tile edges are inserted in the joints > gaining better support against mechanical and hygrothermic stresses.
Perimeter joints, around the edges of the area to be tiled and against intervening structural elements. Subdivision joints, inserted through the thickness of the slab + adhesive + 1/3 of screed. Expansion joints, inserted only through slab + adhesive.
Sizing subdivision joints — area:
Sizing subdivision joints —joint width: on the basis of mechanical and hygrothermic stresses of the tiling installation and elastic capacities of the joint materials.
Spread the adhesive on the installation surface using a 10mm-toothed trowel, working in one direction only (parallel to short side for rectangular slabs). Spread the adhesive on the rear of the slab using a 3mm-toothed trowel, working in matching direction.
Carefully move the slab into position, placing adhesive against
the support surface. Move the slab delicately, making small movements in all four surface directions. Use slab-handling tools for precise movement into correct position. (4, 5, 6). Vibrate using a manual anti-bouncing tile beater or electric tile vibrator, from slab center to sides, continuously and uniformly over the entire surface. (7)
Wait for adhesive to set according to the manufacturer’s instructions before walking on
tiled surfaces. Avoid accidental loading of the surface. Protect joints prior to grouting: prevent
accumulation of dust and dirt in open joints.
If installing wall cladding using {Cp-Kerclip} visible safety systems, anchor the clips to the support prior to spreading the adhesive (using anchors, nailgun, etc.)
Watter cutting, using professional equipment for higher quality cuts.
Dry cutting – select tools depending on the type of cut and slab format:
Support the slab on a flat, stable surface (worktable, polystyrene or soft rubber sheet). Use professional-quality diamond bits (for use with angle- grinders), 6 to 75 mm diameter. Rock the cutter bit in a rotating motion, avoiding excessive pressure; apply a constant spray of water.
Complete the cutting in steps, spraying/bathing the area of the hole constantly.
Cut 4 holes of about 5-7 mm diameter, corresponding to the borders of the pocket corners. If necessary, cut more holes along the borders of the pocket opening. Cut the slab delicately and continuously from one hole to the next, using angle grinder and professional-quality diamond disc for porcelain tiles.
Shipped on pallets with side collars/protective cages. Store in stacks up for a maximum of 3 or 4 pallets, depending on format. Slabs in 90x270cm format are packed in wooden crates. Store in stacks up to a maximum of 5 crates.
Handle using suitable capacity forklift trucks. Move single packs: using fork depth suited to the size of the pack (e.g. 2.5 m for crates). Use maximum fork width when moving > better pack stability.
Remove boxes from the pack, handling them with care. Be careful of the edges to avoid chips and breakage.
Number of personnel recommended for handling:
Position the slab in a stable manner on supports, allowing movement into vertical position and subsequent application of adhesive (movable vertical racks}. Use of suction cup devices with pressure gauge is recommended > for continuous monitoring of sun grip.
Avoid sudden oscillations and vibration of the material when
transporting the slab.